
Are you ready to tackle your next DIY project but find yourself stuck on a simple task—changing the bit in your cordless Dewalt drill? You’re not alone.
Many DIY enthusiasts encounter this hurdle, and it can be frustrating when all you want is to get started on your project. But don’t worry. In this guide, you’ll discover a straightforward method to switch out that drill bit in no time.
Imagine the satisfaction of hearing the click of the new bit securely in place, ready to help you conquer your next task. You don’t need to be a seasoned handyman to master this skill; all you need are a few easy steps. Stick with us, and you’ll gain the confidence to switch drill bits effortlessly, making your projects smoother and more enjoyable. Ready to empower your DIY toolbox? Let’s dive in and make sure your Dewalt drill is always equipped for the job.
Tools And Materials Needed
Changing the bit in a cordless Dewalt drill is easy. You need the right tools and materials. This guide will help you gather what you need. With the correct items, the task becomes simpler and quicker.
Tools Required
To change the bit, a basic toolset is essential. A pair of gloves will protect your hands. Safety goggles shield your eyes from any debris. A Dewalt cordless drill is necessary, of course. Ensure it is fully charged for smooth operation.
Materials Needed
Gather a variety of drill bits. Different tasks need different bits. A cloth or towel will keep your workspace tidy. It catches any dust or debris. Having these items on hand makes the process efficient.
Additional Accessories
A magnetic bit holder can be useful. It keeps your bits organized. A drill bit guide can help beginners. It ensures you choose the right bit size. These accessories make bit changes easier.
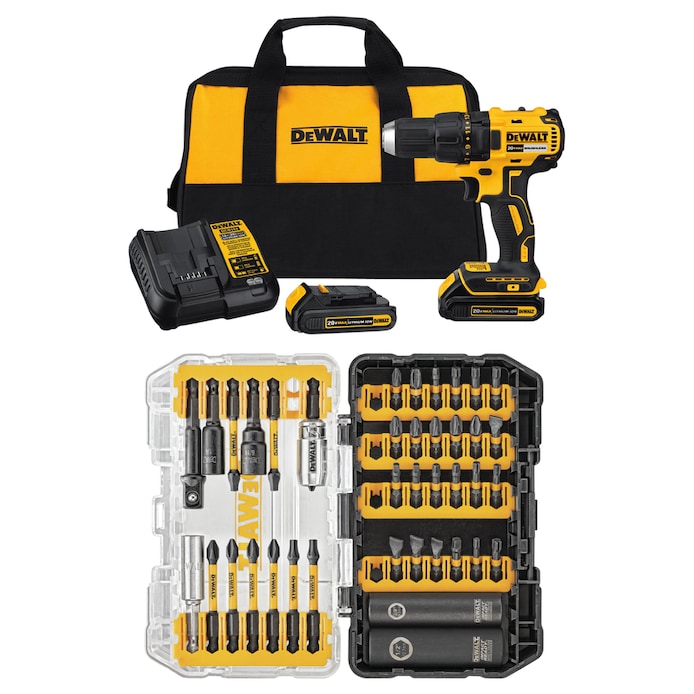
Credit: www.lowes.com
Safety Precautions
Changing the bit in a cordless Dewalt drill requires careful attention. Safety is crucial to avoid accidents. Follow these steps to ensure a safe experience.
Ensure The Drill Is Powered Off
Always switch off the drill before changing bits. This prevents accidental activation. Check the power button or remove the battery to be safe.
Wear Safety Gear
Protect your eyes with goggles. Flying particles can cause harm. Wear gloves to protect your hands. Proper gear keeps you safe.
Inspect The Drill And Bit
Examine the drill for any damage. A faulty drill can be dangerous. Check the bit for rust or wear. Replace damaged bits promptly.
Use Proper Lighting
Ensure the area is well-lit. Poor lighting can lead to mistakes. A bright workspace prevents accidents and aids visibility.
Maintain A Clean Workspace
Keep your workspace tidy. Clutter can cause tripping hazards. Clear the area of tools and debris. A clean space enhances safety.
Secure The Drill
Hold the drill firmly while changing the bit. A secure grip prevents slipping. Use a vice if available. Stability is key to safety.
Identifying The Chuck Type
Changing the bit in your cordless Dewalt drill might seem straightforward, but first, you need to identify the chuck type. A chuck is the clamp that holds the drill bit in place, and knowing which type you have is crucial. Recognizing the chuck type can save you time and prevent damage to your drill. Let’s take a look at the two main types you might encounter.
Keyed Chuck
A keyed chuck is the classic choice and often found in older models or heavy-duty drills. It uses a small tool called a chuck key to tighten or loosen the grip on the drill bit. When I first used a keyed chuck, I was baffled by the need for an extra tool. But the precision it offers made me appreciate its design.
To change a bit with a keyed chuck, insert the chuck key into the side of the chuck. Turn it counterclockwise to loosen the jaws. Remove the old bit, insert the new one, and turn the key clockwise to tighten. It’s like fitting a puzzle piece—simple once you know the process. Do you find yourself misplacing small tools like the chuck key? Keeping it attached to your drill with a piece of string can prevent this common mishap.
Keyless Chuck
The keyless chuck is more common in modern, user-friendly drills. As the name suggests, it doesn’t require a key to change the bit. My first experience with a keyless chuck was eye-opening. The ease of swapping bits without hunting for a chuck key felt like a revelation.
To change a bit with a keyless chuck, simply grip the chuck and turn it counterclockwise to loosen. Remove the old bit, insert the new one, and turn the chuck clockwise to tighten. It’s quick and efficient, perfect for those who value speed and simplicity. Do you ever wonder why some tasks feel intuitive while others don’t? A keyless chuck is designed for convenience, making it an ideal choice for beginners and pros alike.
Knowing your chuck type not only streamlines your work but also enhances your drill’s performance. So, which chuck does your Dewalt drill have? Identifying it correctly could transform your DIY projects.

Credit: m.youtube.com
Removing The Old Bit
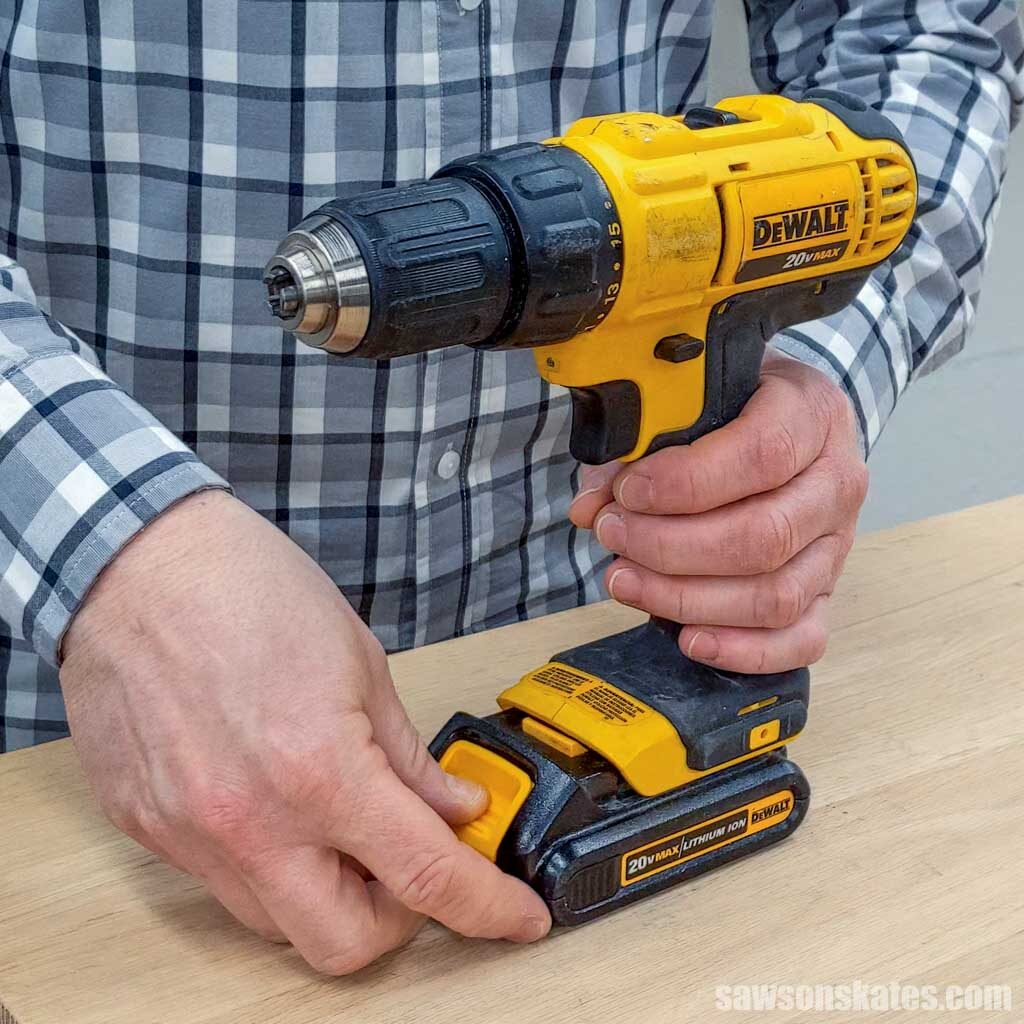
Changing the bit in a cordless Dewalt drill starts here. Removing the old bit is simple. But it requires attention and care. Ensure the drill is off and the battery is removed. This prevents any accidental starts. Follow these steps to safely remove the old bit.
Loosening The Chuck
Hold the drill firmly. Locate the chuck. It’s the part holding the bit. Rotate it counterclockwise. Do this with your hand. Use moderate pressure. This loosens the grip on the bit. Keep turning until the bit feels loose. Some drills have a keyless chuck. This makes the process easier.
Extracting The Bit
Once the chuck is loose, pull the bit out. Grasp it with your fingers. Gently slide it out of the chuck. Be careful of sharp edges. The bit may be warm from recent use. If it feels stuck, loosen the chuck more. Ensure the bit is free of debris before storing it.
Inserting The New Bit
Changing the bit in a cordless Dewalt drill is straightforward. First, ensure the drill is off and remove the battery. Then, hold the chuck and rotate it counterclockwise to loosen the current bit. Insert the new bit and tighten the chuck by turning it clockwise.
Reattach the battery and test the drill.
Inserting the new bit into your cordless Dewalt drill is a straightforward yet crucial task that can elevate your DIY projects. Whether you’re a seasoned handyman or a weekend warrior, changing the drill bit efficiently can save you time and improve your workmanship. This guide will walk you through selecting the right bit and securing it in place, ensuring your drill performs optimally.Selecting The Right Bit
Choosing the correct bit for your project is essential. Think about the material you’re working with. Are you drilling into wood, metal, or masonry? Each requires a specific type of bit. Consider the size of the hole you need. Bits come in various sizes, and picking one that’s too large or too small can impact the final result. Look at the packaging or markings on the bit for guidance. Check the compatibility with your Dewalt drill model. Not all bits fit every drill, so ensure the bit’s shank matches your drill’s chuck size. Have you ever tried using a bit that just wouldn’t fit? It’s frustrating, but avoidable with a quick compatibility check.Securing The Bit In Place
Once you’ve selected the right bit, securing it properly is key to efficient drilling. First, make sure your drill is powered off and remove any bit currently in the chuck by loosening it. Insert the new bit into the chuck, ensuring it’s centered and straight. Have you ever had a bit wobble during drilling? That’s often due to improper insertion. Tighten the chuck by rotating it clockwise until the bit is firmly held. It’s a simple twist, but if not done tightly, the bit can slip during use. A snug fit ensures precision and safety, preventing any unwanted movement. Test the bit by giving it a slight pull. If it doesn’t budge, you’re good to go! Remember, a secure bit leads to smoother operation and less wear on your drill. How confident are you in your ability to change the bit now? With practice, it becomes second nature.Testing The Drill
Changing the bit in a cordless Dewalt drill is simple. First, ensure the drill is turned off. Then, loosen the chuck by turning it counterclockwise. Insert the new bit into the chuck and tighten by turning clockwise. Ensure it’s secure before use.
Testing your cordless Dewalt drill after changing the bit is a crucial step. It ensures that everything is in perfect working order before you dive into your project. Taking a moment to test the drill can save you from potential mishaps later on. ###Powering On The Drill
Before you power on the drill, double-check that the battery is securely attached. A loose battery can result in inconsistent power flow. Press the trigger gently. Listen for any unusual sounds that might indicate a problem. A smooth and steady hum means your drill is ready for action. ###Ensuring Proper Bit Alignment
Check that the bit is snugly in place. Give it a light tug to make sure it won’t come loose during use. Align the bit with a piece of scrap wood to verify its straightness. An improperly aligned bit can lead to uneven drilling and potential damage. Have you ever started drilling only to find the hole is off-center? A quick alignment check prevents that frustration.Maintenance Tips
Maintaining your cordless Dewalt drill is essential for its longevity. Regular maintenance ensures smooth operation and extends the tool’s life. Let’s explore some key maintenance tips.
Regular Cleaning
Dust and debris can clog your drill over time. Use a soft brush to remove dirt from the drill’s surface. A damp cloth can wipe away stubborn grime. Avoid using water directly on the drill. Moisture can damage electronic components. Clean the chuck area thoroughly. This ensures a firm grip on the drill bit. Regular cleaning keeps your drill in peak condition.
Checking For Wear And Tear
Inspect your drill for signs of wear. Check the chuck for any loosening. A loose chuck can lead to accidents. Look at the battery for corrosion or damage. Replace damaged batteries to ensure efficient power supply. Examine the drill bit for dullness or damage. A sharp bit ensures precise drilling. Regular checks prevent unexpected failures.
Credit: www.tunet.cult.cu
Frequently Asked Questions
How Do I Change The Bit On My Dewalt Drill?
To change the bit, first, ensure your drill is turned off. Hold the chuck firmly and turn it counterclockwise to loosen. Insert the new bit into the chuck, then tighten it by turning clockwise. Ensure the bit is secure before using the drill.
What Is The Proper Way To Secure A Drill Bit?
Secure the drill bit by tightening the chuck clockwise. Ensure it’s snug and doesn’t wobble. Use both hands for a firm grip. Double-check by tugging lightly on the bit. It should not move. This ensures safety and precision during use.
Can I Change Drill Bits Without A Key?
Yes, most Dewalt drills have a keyless chuck. Simply rotate the chuck counterclockwise to loosen it. Insert the new bit and turn clockwise to tighten. This allows for quick and easy bit changes without additional tools.
Why Won’t My Dewalt Drill Bit Stay In Place?
If your bit isn’t staying, ensure the chuck is tightly secured. Check for any debris inside the chuck. Ensure the bit is the correct size for the chuck. If problems persist, inspect the chuck for damage or consider professional assistance.
Conclusion
Changing the bit in your Dewalt drill is easy. Just follow the steps. First, make sure the drill is off. Then, loosen the chuck. Remove the old bit. Insert the new bit and tighten the chuck. Check that the bit is secure.
Now, you’re ready to drill again. With practice, this process becomes quick and simple. A fresh bit ensures better performance. Keep your tools in good condition for lasting use. Enjoy your drilling projects with confidence and ease. Happy drilling!