
Are you tired of your cordless drill losing power right in the middle of a project? Upgrading to new lithium batteries might just be the solution you need.
Imagine never having to stop mid-task because your drill runs out of juice. By learning how to install these efficient batteries yourself, you can extend the life of your drill and enhance its performance. In this guide, you’ll discover the simple steps to give your cordless drill a new lease on life.
Stick around, and you’ll soon be a pro at keeping your tools in top shape, ready for any challenge that comes your way.
Safety Precautions
Installing new lithium batteries in a cordless drill is a straightforward process. Yet, safety precautions are essential. These ensure both your safety and the longevity of the batteries. Let’s delve into some critical safety measures.
1. Wear Protective Gear
Always wear safety goggles. Protect your eyes from potential sparks. Use gloves to safeguard your hands. Especially from sharp edges or accidental short circuits.
2. Work In A Ventilated Area
Ensure your workspace has good ventilation. This prevents the buildup of harmful fumes. Fresh air reduces the risk of inhaling toxic substances.
3. Disconnect The Drill
Ensure the drill is switched off. Remove the old battery completely. This step prevents accidental activation during installation.
4. Check For Damage
Inspect the new lithium batteries. Look for any visible damage or leaks. Damaged batteries can be hazardous.
5. Handle Batteries With Care
Do not drop or puncture the batteries. Mishandling can lead to leaks or fires. Always handle with caution.
6. Avoid Metal Contact
Keep metal objects away from battery terminals. Metal contact can cause short circuits. This can lead to battery failure or injury.
7. Follow Manufacturer Instructions
Refer to the drill’s manual. Follow the specific instructions for battery installation. Each model might have unique requirements.
8. Store Batteries Properly
Store unused batteries in a cool, dry place. Avoid direct sunlight or extreme temperatures. Proper storage maintains battery health.
Adhering to these safety precautions ensures a smooth installation process. Safety first, always.
Tools And Materials Needed
Upgrading your cordless drill with lithium batteries enhances performance and battery life. Before beginning this task, gather the necessary tools and materials. Having everything at hand simplifies the installation process and ensures efficiency.
Tools Required
A screwdriver is essential. It helps open the drill casing. Choose one with a comfortable grip. Precision tools are also important. They ensure screws are not stripped. Needle-nose pliers assist in removing old batteries. They provide a firm hold on wires. A multimeter checks voltage levels. It confirms battery compatibility.
Materials Needed
First, select the right lithium batteries. Check your drill specifications. Purchase batteries that match these specs. Battery connectors are crucial. They secure the batteries in place. Ensure they fit well. Heat shrink tubing insulates connections. It prevents short circuits. Electrical tape provides added safety. It reinforces connections.
Safety Equipment
Wear safety goggles. Protect your eyes from debris. Use gloves for hand protection. They offer a better grip on tools. A dust mask prevents inhaling fine particles. Ensure your workspace is well-lit. A well-lit area reduces mistakes.
With these tools and materials ready, you’re set to install new lithium batteries in your cordless drill. Proper preparation makes the task straightforward and safe.
Removing The Old Battery
Start by carefully removing the old battery from the cordless drill. Ensure the drill is turned off. Disconnect the battery gently to avoid damaging connectors. This step is crucial for safely installing new lithium batteries.
Removing the old battery from your cordless drill is a straightforward task that sets the stage for a fresh, powerful lithium battery installation. Imagine the satisfaction of upgrading your tool to perform more efficiently, giving you the boost needed for your projects. But first, you need to safely disconnect and extract the old battery to make room for the new. Let’s dive into the steps to ensure a smooth transition, so your drill is ready to tackle anything.Disconnecting The Drill
Before you get started, make sure your drill is switched off. This might sound simple, but it’s a step that’s easy to forget in the excitement of upgrading your tool. Think about the time you rushed into fixing something only to realize you hadn’t unplugged it. Disconnecting the drill prevents any accidental activation while you work on removing the battery. Next, detach the drill from its power source if it’s connected to a charger. This ensures maximum safety as you proceed with the extraction.Extracting The Battery Pack
Locate the battery compartment on your drill. Most drills have a simple latch or release button that you can press to open the compartment. Once the compartment is open, carefully slide out the old battery pack. You might feel a little resistance at first, but a gentle tug should do the trick. Have you ever struggled with removing a battery, only to find out a little extra push was needed? If the battery seems stuck, check for any debris or corrosion that might be causing the obstruction. A clean compartment makes for a smooth extraction. As you remove the old battery, take a moment to reflect on its performance. Did it serve you well, or were there times it just couldn’t keep up? This insight will guide your choice of the new lithium battery, ensuring it’s the right fit for your needs. What benefits do you expect from your new battery? Greater efficiency, longer life, or perhaps both? As you prepare to install the new battery, keep these goals in mind to make the most of your upgrade.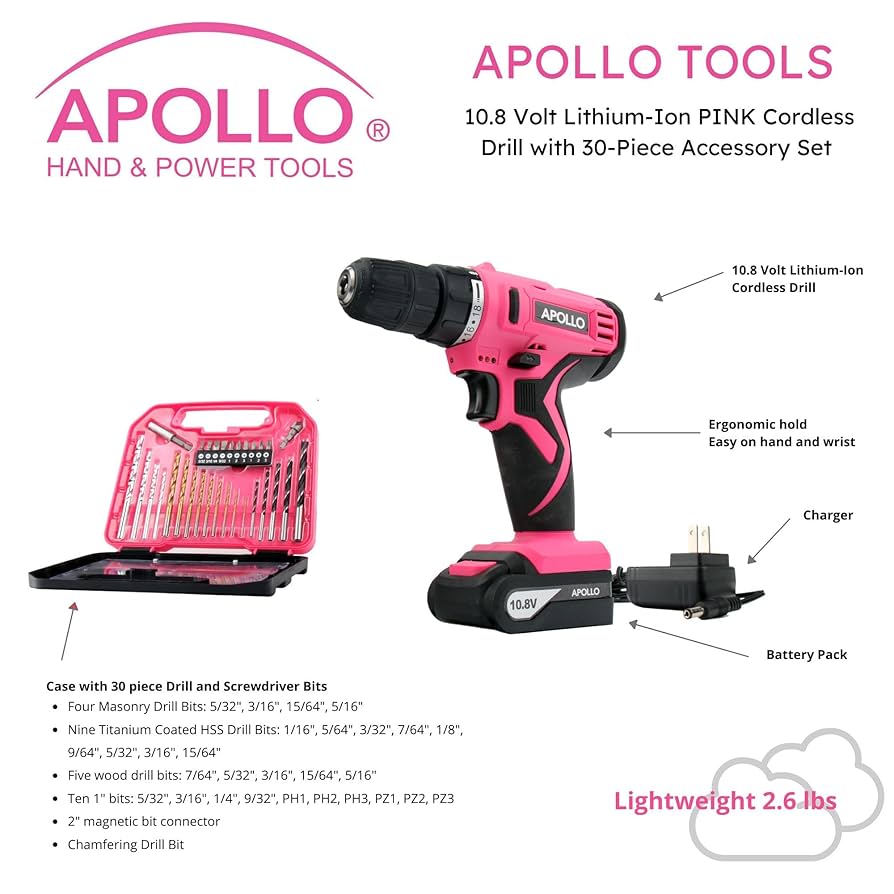
Credit: www.amazon.com
Preparing The New Lithium Battery
Before installing a new lithium battery in your cordless drill, preparation is key. Proper preparation ensures the battery works efficiently and lasts longer. Taking the right steps avoids damage and maximizes performance. Follow these guidelines for a smooth installation process.
Checking Compatibility
Ensure the new lithium battery matches your drill model. Check the voltage and capacity requirements. Look at the battery type recommended by the drill manufacturer. Using an incompatible battery can damage your drill. Verify the battery fits securely in the battery slot. Proper compatibility guarantees optimal performance.
Charging The Battery
Always charge the new battery before use. Charging helps activate the battery cells. Follow the manufacturer’s instructions for charging. Use the correct charger to avoid damage. Charging times may vary, so be patient. A fully charged battery ensures maximum power for your drill. Keep your battery ready for any task.
Installing The New Battery
Replacing lithium batteries in a cordless drill involves a few simple steps. Remove the battery cover, disconnect the old battery, and connect the new one securely. Ensure the battery fits snugly before reattaching the cover.
Installing a new lithium battery in your cordless drill can breathe new life into your trusty tool. It’s a simple process, but it’s important to do it right to ensure your drill performs optimally. Whether you’re a DIY enthusiast or just someone who occasionally needs a drill for small tasks, understanding this process can save you time and frustration.Inserting The Battery Pack
Begin by locating the battery compartment on your cordless drill. It’s typically found at the base of the handle. Before you proceed, make sure the drill is off to avoid any mishaps. Next, take the new lithium battery pack and align it with the compartment. You’ll notice grooves or slots that guide the battery into place. Gently slide the battery into the compartment, ensuring it fits snugly. If you find resistance, don’t force it. Double-check the alignment and try again. Forcing the battery can damage the connections, leading to performance issues.Securing The Battery
Once the battery is in place, it’s time to secure it. Most cordless drills have a locking mechanism to keep the battery from slipping out during use. Listen for a click or check visually to see if the battery is locked in. Give the battery a slight tug to ensure it’s firmly secured. A loose battery can interrupt your work, and it’s best to verify it’s locked before you start drilling. If your drill has a battery release button, familiarize yourself with its location. This knowledge will be handy when it’s time to remove or replace the battery again. Have you ever struggled with a loose battery while in the middle of a project? It can be a real productivity killer, right? Ensuring the battery is secure from the start can save you from those interruptions. Remember, a well-secured battery not only powers your drill efficiently but also extends the life of your equipment. Have you tried these steps with your drill yet? Or do you have additional tips to share? Let’s make our cordless drills work smarter, not harder!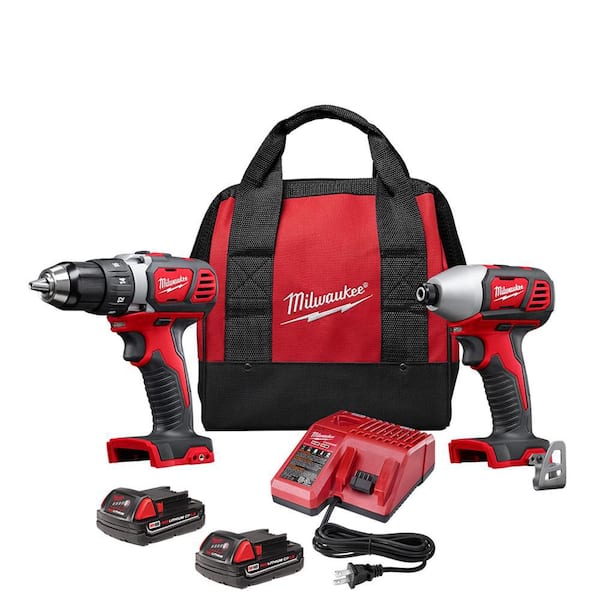
Credit: www.homedepot.com
Testing The Drill
After installing new lithium batteries in your cordless drill, testing is crucial. This ensures your drill operates smoothly and efficiently. Testing involves checking power functionality and ensuring proper installation. Let’s dive into these steps to guarantee your drill is in top shape.
Checking Power Functionality
First, press the drill’s trigger to check power. Listen for a strong, consistent motor sound. This indicates that the batteries are functioning well. Observe the speed and torque for any irregularities. If the drill struggles, check the battery connection. A secure fit is crucial for optimal performance.
Ensuring Proper Installation
Examine the battery compartment for proper alignment. The battery should sit snugly without any wobble. Recheck the locking mechanism to ensure it clicks into place. This prevents accidental disconnection during use. Double-check all connections for tightness. Loose connections can lead to power loss or inconsistent drilling.
Testing these aspects will ensure your cordless drill is ready for tasks. With proper installation and power functionality, your drill will serve you well.
Maintaining Lithium Batteries
Installing new lithium batteries in a cordless drill is simple. Ensure the drill is switched off and remove the old battery. Slide in the new lithium battery until it clicks into place securely. Follow manufacturer’s guidelines for optimal performance and extended battery life.
Maintaining lithium batteries in your cordless drill ensures longevity and efficiency. Proper care can extend battery life and performance. Understand the best practices for storing and charging your lithium batteries. This section covers essential tips to keep your cordless drill running smoothly.Storage Tips
Store lithium batteries in a cool, dry place. Avoid direct sunlight or heat sources. Extreme temperatures can damage battery life. Keep batteries at room temperature for best results. Ensure they are clean and dry before storage. Store them in a plastic case or pouch to prevent contact with metal objects. This reduces the risk of short circuits.Optimal Charging Practices
Charge batteries before they are completely drained. Lithium batteries prefer partial discharges. This practice extends battery life. Use the charger that came with your cordless drill. It ensures compatibility and safety. Avoid overcharging by unplugging once fully charged. Overcharging can lead to reduced battery performance. Charge in a well-ventilated area to prevent overheating.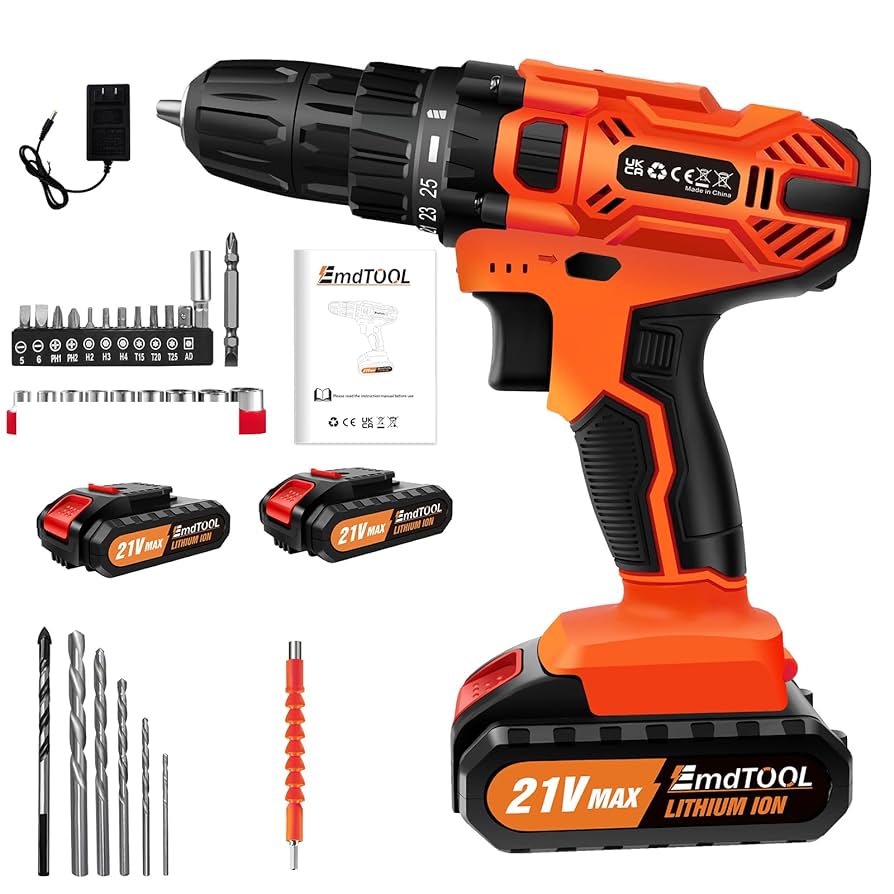
Credit: www.amazon.com
Frequently Asked Questions
How To Remove Old Drill Batteries?
To remove old batteries, first ensure the drill is turned off. Locate the battery compartment, usually at the handle’s base. Slide or click the release button, if present, and gently pull out the old battery. Always consult your drill’s manual for specific instructions.
Are Lithium Batteries Better For Drills?
Yes, lithium batteries offer improved performance for drills. They are lighter, provide longer run times, and have faster charging capabilities. Unlike older batteries, lithium ones maintain consistent power until depleted. This makes them ideal for heavy-duty or extended use without frequent recharging.
Can I Replace Nicad With Lithium Batteries?
You can replace NiCad batteries with lithium ones if your drill supports it. Check the drill’s specifications to ensure compatibility. Lithium batteries provide better performance and longevity. However, ensure the voltage matches to avoid damaging the tool.
What Precautions Should I Take When Installing?
When installing new batteries, ensure the drill is off to prevent accidents. Handle batteries with care, avoiding contact with metal. Check for any signs of damage before use. Always follow the manufacturer’s instructions and use appropriate safety gear when necessary.
Conclusion
Installing new lithium batteries in your cordless drill can enhance its performance. Follow the steps carefully for a smooth process. Ensure batteries fit well and connect properly. This avoids damage and ensures safety. Regularly check your drill’s battery health. It helps maintain efficiency and prolongs tool life.
Remember, safety first—always wear protective gear. With these tips, your drill becomes more reliable. Enjoy improved power for your projects. Keep your drill ready for action. Happy drilling and stay safe!
https://shorturl.fm/GhnJs
https://shorturl.fm/rn7XD
https://shorturl.fm/EKncC